Mold cleaning
Laser Cleaning Mold Cavities: What to Check Before Production Restarts
Use mold-specific residue, surface-feature and controlled first-off checks before restarting a laser-cleaned mold.
10 min readBy LaserLuma technical team
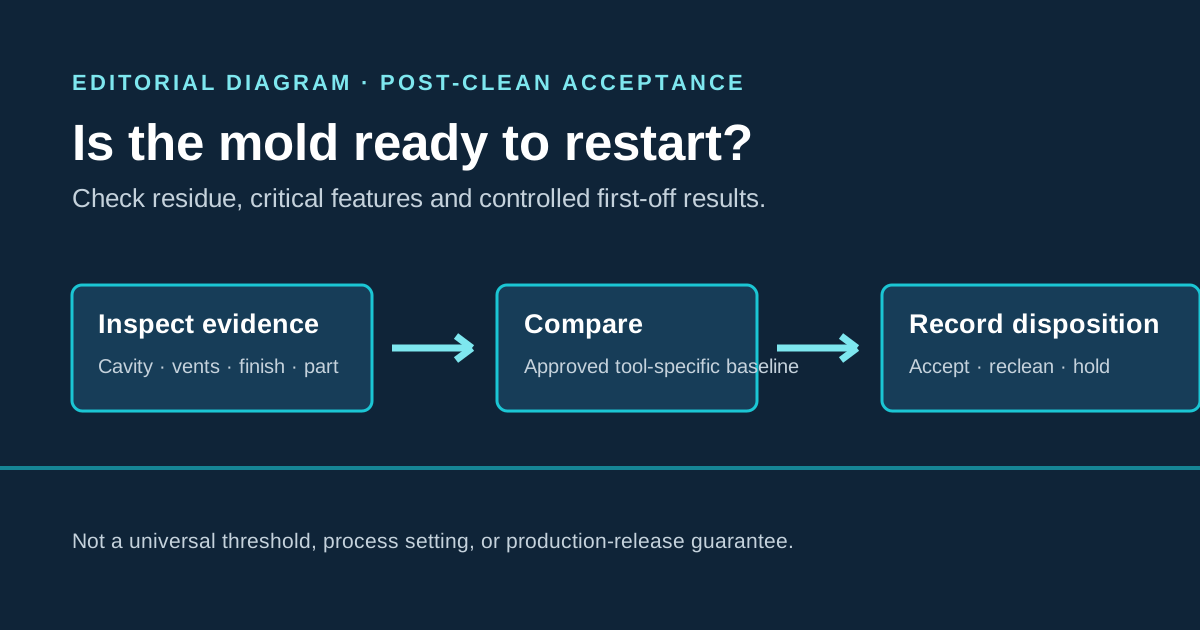
A laser-cleaned mold is ready to restart only when the evidence supports three separate conclusions: residue has been removed to the mold-specific requirement, the cleaning has not created an unacceptable surface or feature change, and controlled first-off parts meet the applicable drawing and control-plan checks. A cavity that merely looks clean does not answer all three questions. The responsible quality and production owners should record one of three dispositions: accept for production, reclean and reinspect, or hold and escalate.
Start with a release rule, not a clean-looking cavity
Post-clean inspection has two jobs before the tool runs again. It must find remaining contamination, and it must find any unacceptable change to the surface or critical features. Those outcomes are related, but they are not interchangeable. Removing more residue is not a successful result if the approved texture, polish, dimensions or working features are no longer acceptable.
This is why damage-free and residue-free should be treated as acceptance objectives rather than automatic properties of laser cleaning. Experimental work on composite tooling molds has shown that cleaning results and surface morphology can change with the tested conditions. Vendor application pages can show what a validated system achieved in a defined application, but that evidence does not qualify a different mold, residue, coating, geometry or process window.
Before cleaning begins, the plant should already know which documents control the restart decision. These may include the mold drawing, approved surface-finish reference, part drawing, control plan, maintenance record, retained last-good part and a defined approver. After cleaning, those same references become the basis for release. Schedule pressure is not an acceptance criterion.
Keep post-clean acceptance separate from process selection
This guide begins after cleaning. Questions about residue type, mold material or coating, access, cleaning configuration and representative trials belong in the mold-cleaning process and validation inputs. Those inputs help define and test a cleaning process. They do not themselves prove that a completed cleaning cycle left the tool ready for production.
Keeping the boundary clear prevents two common mistakes. The first is treating a successful sample trial as permanent approval for every cavity and maintenance event. The second is repeating pre-clean planning while leaving the restart decision vague. A post-clean release needs its own evidence: cavity condition, critical-feature condition, first-off part results and a named disposition.
Review mold-cleaning process and validation inputsSeparate residue from surface change
Begin with the broad surfaces, but do not stop at a general visual check. Compare the cleaned area with the approved mold-specific reference under lighting, magnification and viewing conditions appropriate to the feature and risk. Where visual inspection cannot distinguish residue from a surface change, use a suitable surface-inspection method selected by the plant's quality owner. Optical microscopy is one example used in published mold-cleaning research; it is not a universal requirement for every tool.
Do not import a roughness, fluence, power, temperature, pass-count or cleanliness number from a study and turn it into a plant-wide limit. Published values belong to the tested material, laser, residue, geometry and measurement method. The correct threshold is the one approved for the actual mold and part.
| Question | Evidence to consider | Hold or escalate when |
|---|---|---|
| Is contamination still present? | Visual or magnified comparison, residue at edges and recesses, extracted particles, approved cleanliness check | Residue remains outside the mold-specific requirement, or the result is uncertain |
| Has the surface changed? | Texture or polish reference, morphology or roughness check when required, critical dimensions, coating condition | A change exceeds the approved baseline, cannot be explained, or cannot be measured reliably |
Inspect the features broad-surface coverage can miss
The highest-risk location may not be the largest visible surface. Deep details, texture valleys, profile webs, edges and narrow passages can retain material after the open cavity face appears clean. Build the inspection route around the actual tool design rather than a generic photograph.
This list is not a claim that one laser configuration can reach every feature. A difficult geometry may require a different orientation, hand-guided access, an automated path, another cleaning step or a hold for engineering review.
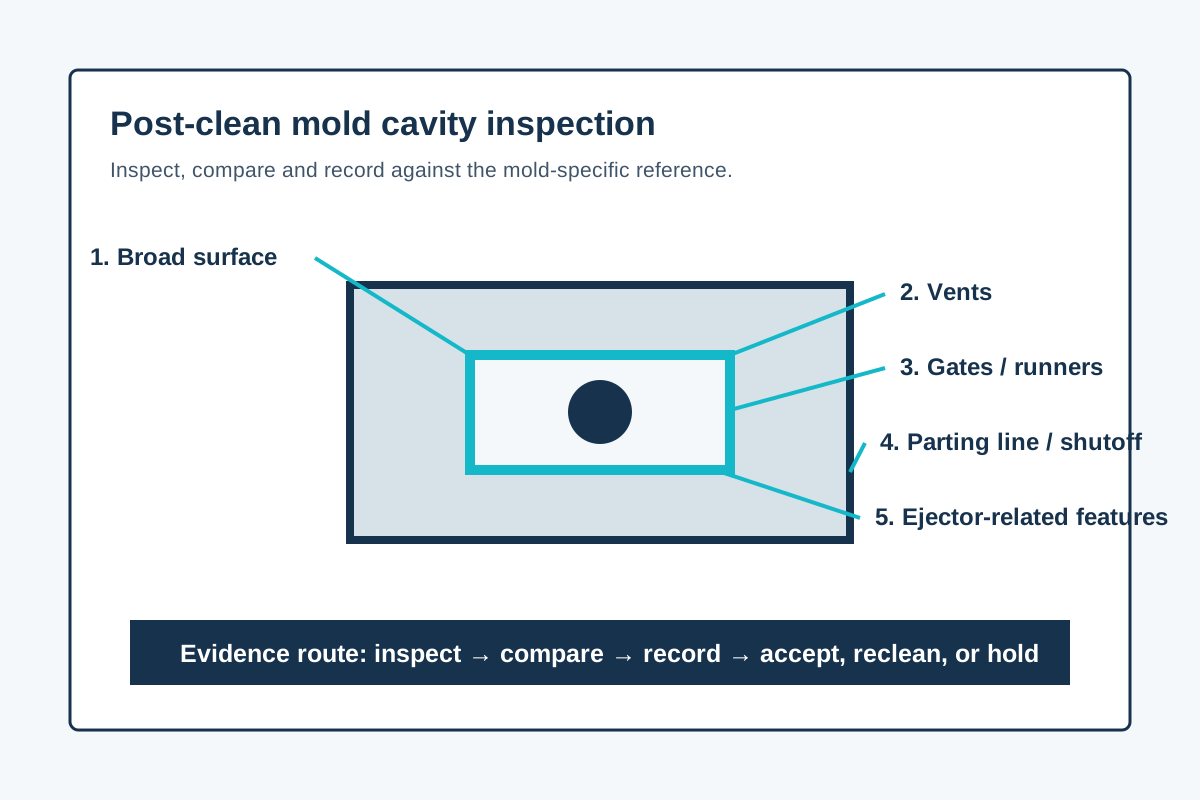
- Vents: look for remaining deposits, blocked flow paths, edge damage and any condition linked to burn marks or incomplete venting on the part.
- Gates and runners: confirm residue removal and check the applicable geometry or dimensions when cleaning could affect the working edge.
- Parting lines and shutoffs: inspect for deposits, rounding, scoring or another change that could contribute to flash or sealing problems.
- Texture, polish and cosmetic surfaces: compare against the approved reference under consistent inspection conditions.
- Ejector-related features, cores and pins: check for deposits, damage, free movement and evidence of drag or abnormal contact.
- Tool motion and interfaces: exercise the approved movements and stop if there is binding, unexpected contact or another abnormal condition.
- Extraction result: examine collected residual particles when that evidence helps determine whether contamination was removed rather than redistributed.
| Feature or result | Evidence to review | Evidence supports release when | Hold or escalate when |
|---|---|---|---|
| Visible residue on broad cavity surfaces | Consistent visual or magnified comparison with the approved clean reference | The observed condition meets the mold-specific cleanliness requirement | Residue remains outside that requirement, or lighting and access leave the result uncertain |
| Vents and narrow passages | Direct inspection, vent condition, extracted particles and relevant first-off signals such as burn marks | The applicable vent path is clear and shows no unacceptable damage or dimensional change | Deposits remain, a vent is damaged or changed, or part evidence suggests the path is not functioning as approved |
| Surface finish, texture or polish | Approved finish reference and a suitable surface-inspection method when visual review cannot separate residue from surface change | The cleaned surface remains within the approved mold-specific baseline | Morphology, roughness, texture, polish or another surface condition changes unexpectedly or cannot be resolved |
| Critical dimensions, gates, parting lines and shutoffs | Applicable drawing dimensions, edge condition and cavity-to-cavity comparison | The selected features remain within the controlled drawing or control-plan requirements | A selected dimension or working edge fails, or a finding could contribute to flash, sealing or flow problems |
| Coating or other protected features | Coating condition, protected-feature reference and tool-specific inspection evidence | No unacceptable change is found against the approved reference | Discoloration, delamination, rounding, wear or another unexplained change appears |
| Controlled first-off result | Applicable visible, dimensional, functional and cosmetic checks; approved reference or retained last-good part where permitted | The recorded first-off results pass the drawing and control plan | A required result fails, the result is incomplete, or the cause cannot be separated from cleaning, setup, material or a pre-existing tool condition |
Use controlled first-off parts to test the restart decision
Tool inspection tells you about the mold. First-off parts show whether the cleaned tool is producing acceptable output under controlled restart conditions. The part check should follow the approved drawing and control plan, not a generic online sample size.
Depending on the part and risk, useful checks can include visible defects, cavity-to-cavity comparison, selected dimensions or GD&T, cosmetic condition, sink, warpage, shrinkage and functional requirements. A retained last-good part or approved reference can make differences easier to see where the plant's quality system allows it, but it does not replace controlled specifications or measurement records.
Connect each finding back to a possible tool condition. Drag marks may point to an ejector or core issue. Burn marks may justify a vent check. Flash may send the team back to a parting line or shutoff. A cosmetic change may require another comparison of texture, polish or remaining residue. This feedback loop is more useful than declaring the cavity clean and treating the first pieces as ordinary production.
If the first-off part fails, do not assume cleaning caused the failure, and do not ignore the timing. Record the defect, cavity, measurement, tool condition and relevant process state. Then route the issue to the owner who can separate a cleaning issue from a setup, material, process or pre-existing tool problem.
Record accept, reclean and reinspect, or hold and escalate
A compact release record prevents the restart decision from disappearing into a maintenance note. Record mold and cavity identity; cleaning configuration or approved process reference; areas and features inspected; inspection methods and controlling references; remaining residue or surface-change findings; first-off part identifiers and applicable results; exceptions, open questions and supporting images or measurements; and disposition, responsible approver and time of decision.
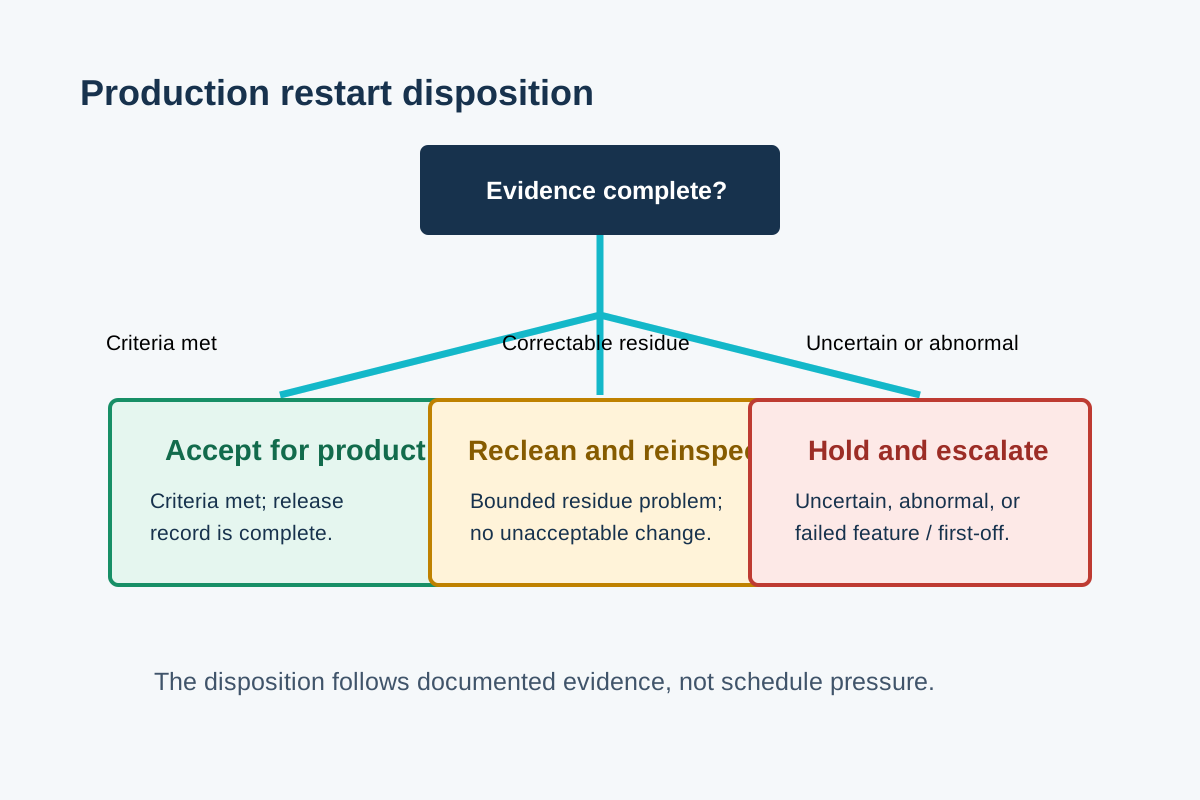
Use accept for production when the required evidence is complete and every applicable criterion passes. Use reclean and reinspect when the problem is understood as correctable residue, no unacceptable surface or feature change is present, and the approved process allows another cleaning cycle. Use hold and escalate when the surface has changed unexpectedly, a critical feature or first-off part fails, the evidence is incomplete, the cause is uncertain, or another cleaning cycle could increase risk.
The three-way record matters because not accepted is not a sufficient next action. Recleaning is appropriate for a bounded residue problem. It is not the default response to possible surface damage, dimensional change, abnormal tool motion or an unexplained first-off defect.
What to bring to a mold-cleaning review
If the process has not yet been validated for this mold, begin with representative sample testing rather than committing the production tool on a general claim. Prepare mold material, coating and surface finish or texture requirements; residue type and where it accumulates; drawings or photographs that identify critical surfaces and difficult features; vent, gate, parting-line, shutoff and ejector-related concerns; applicable dimensions, cosmetic requirements and first-off checks; the plant's intended accept, reclean/reinspect and hold/escalate owners; and any previous surface-change, wear or part-quality evidence.
LaserLuma can use those inputs to review whether a representative cleaning trial is appropriate. The customer's quality and production owners retain responsibility for the tool-specific acceptance criteria and production-release decision.
Start representative sample testingSources and limitations
This article does not set universal process parameters, inspection thresholds, first-off sample counts or production-release rules. Apply the actual mold drawing, finish requirement, part drawing, control plan, maintenance procedure and named plant authority.
Evidence: Study on the effect of laser cleaning on the surface quality of composite tooling molds · Laser Cleaning of IC Mould and Its Real-Time Monitoring · ZEISS first article inspection guidance for plastic parts · Amodel PPA Processing Guide: mold maintenance · cleanLASER composite-mold application page · cleanLASER tire-mold application note